
This document covers step two of the Single sign-on (SSO) setup process, and shouldn’t be completed independently.
-
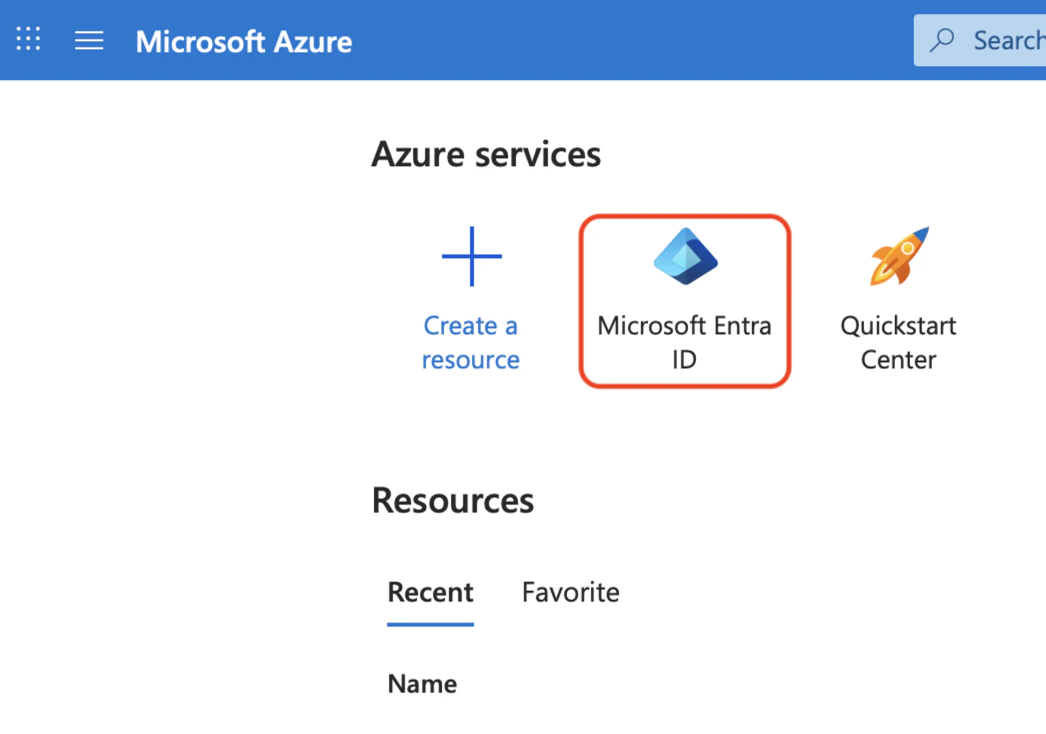
Log in to the Microsoft Azure portal, and click Microsoft Entra ID.
-
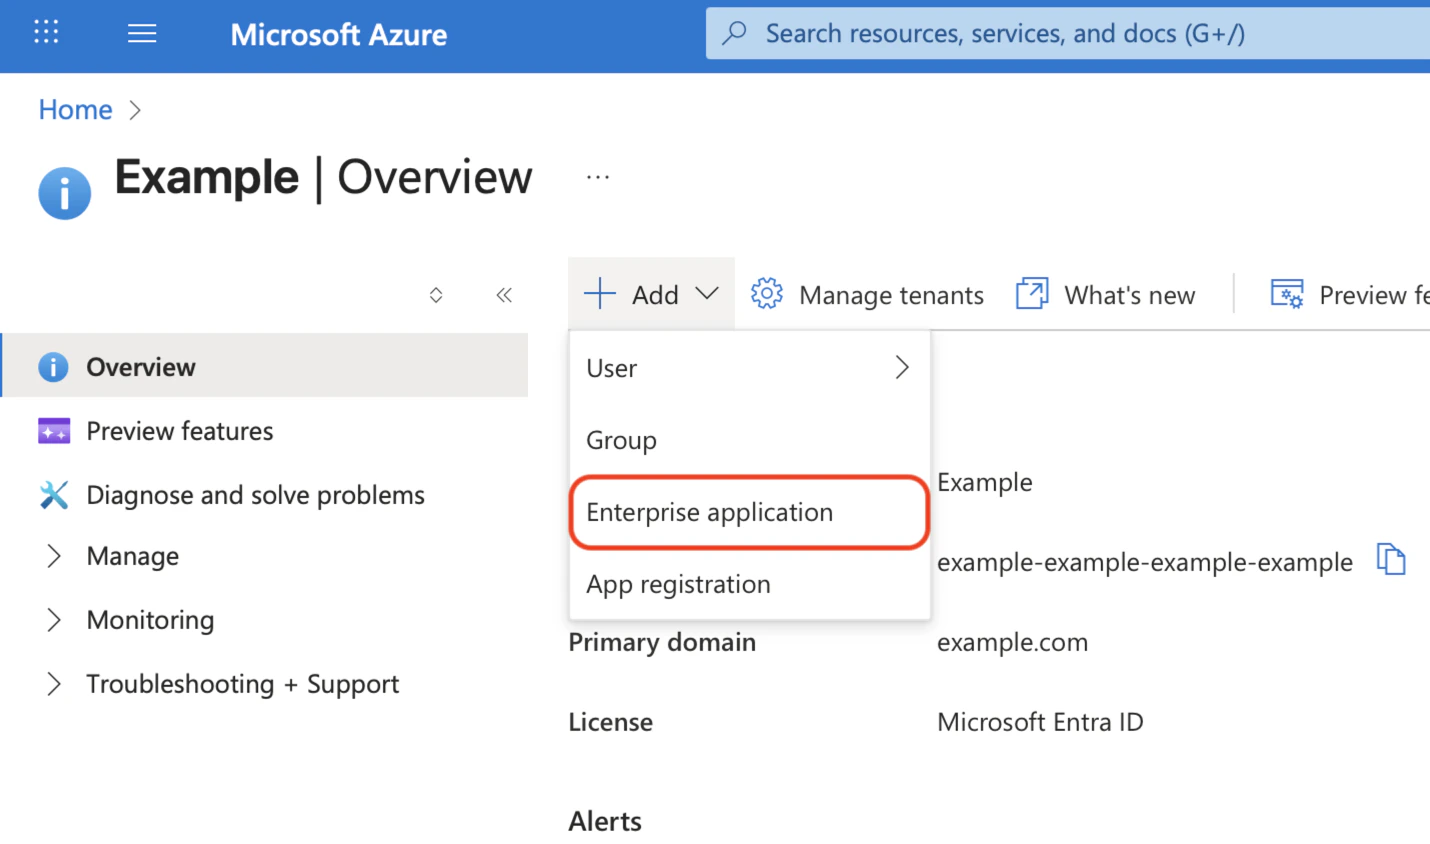
At the top of the Overview page, click the Add menu, and select Enterprise application.
-
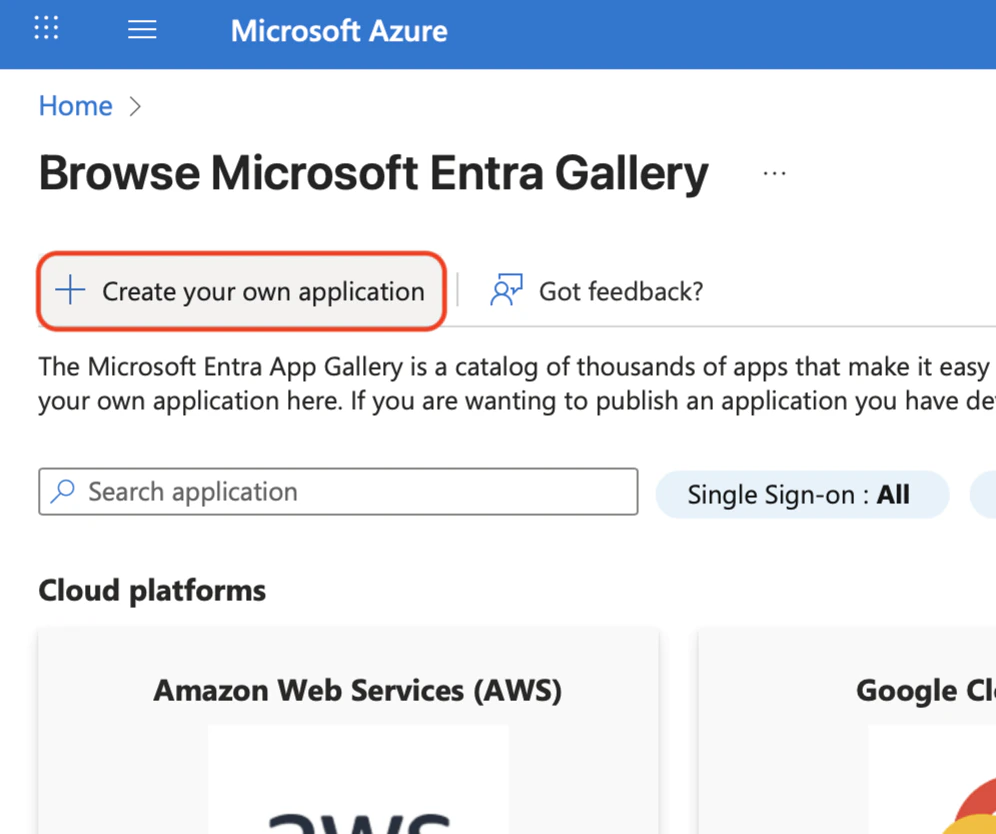
At the top of Browse Microsoft Entra Gallery, click Create your own application.
-
Enter a name for the application, such as
{maia}, and select the Integrate any other application you don’t find in the gallery (Non-gallery) radio button.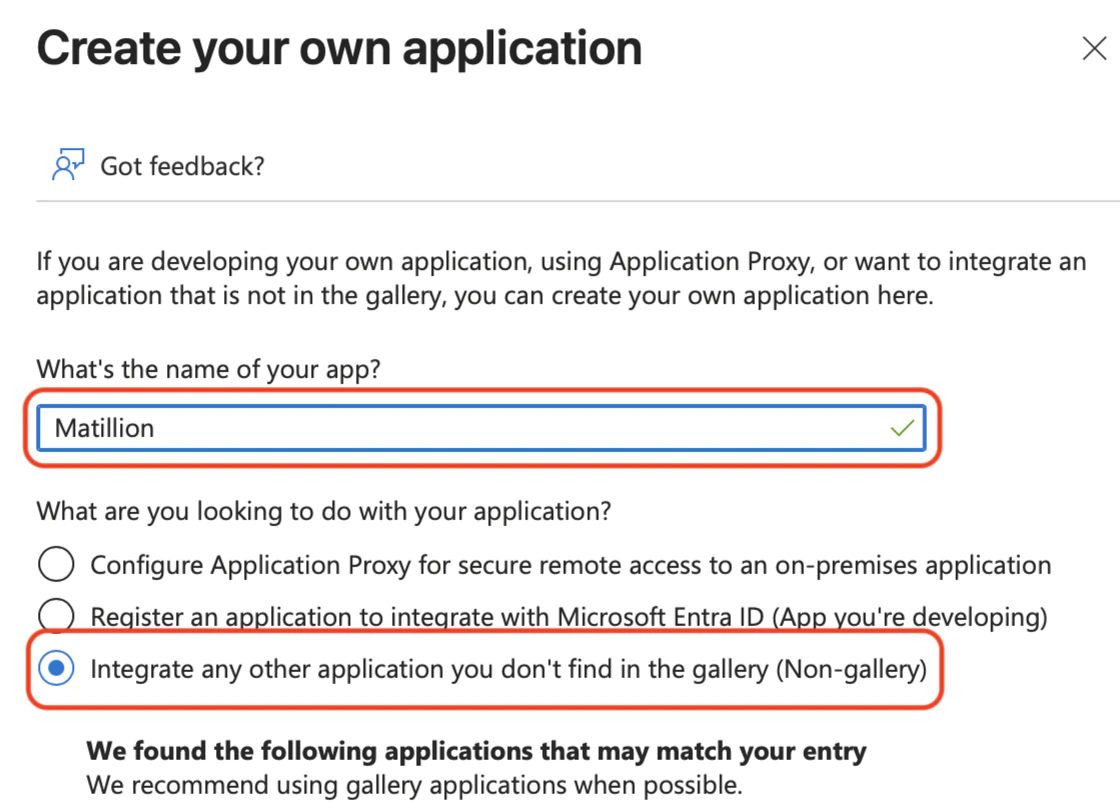
-
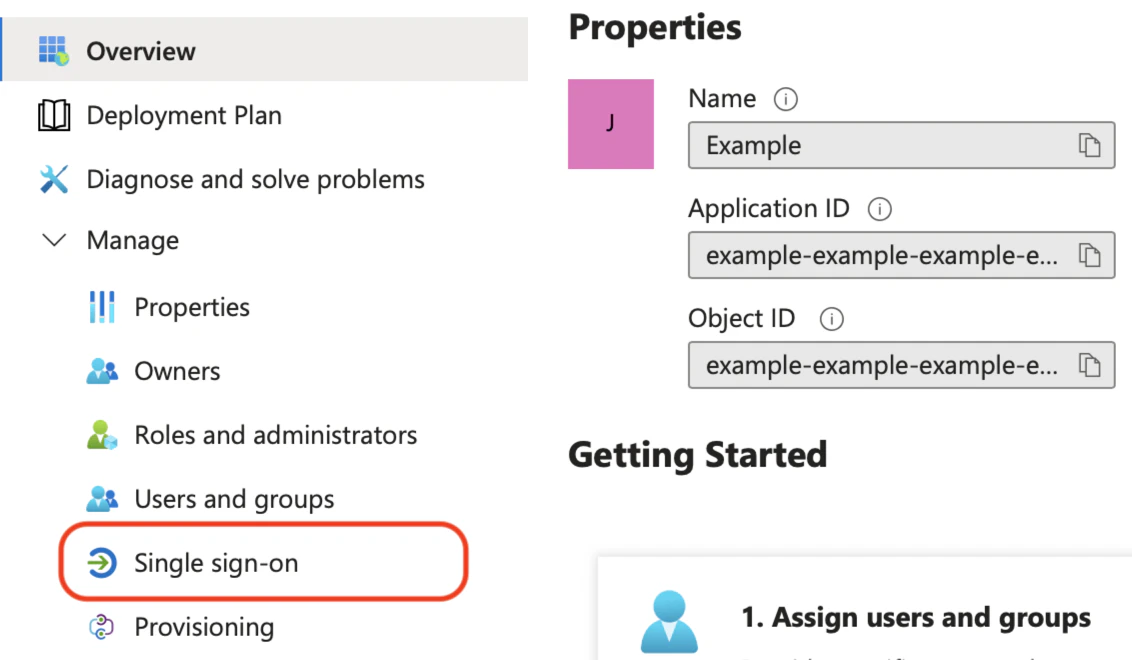
Expand the Manage section on the left, and click Single sign-on.
-
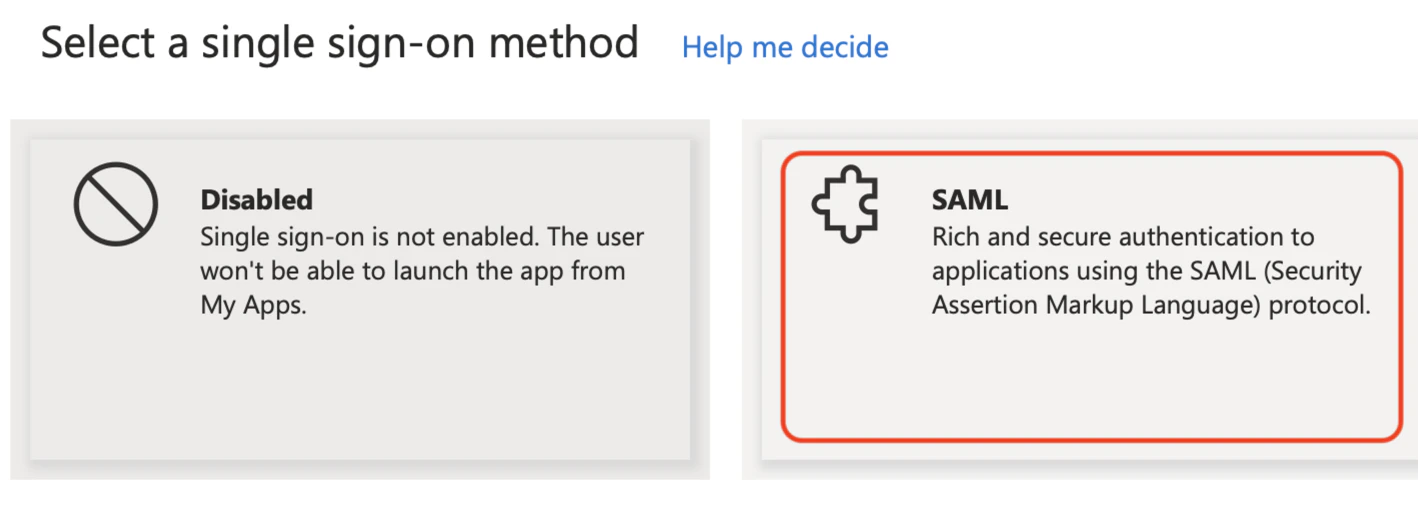
Click the SAML tile to select SAML as the single sign-on method.
-
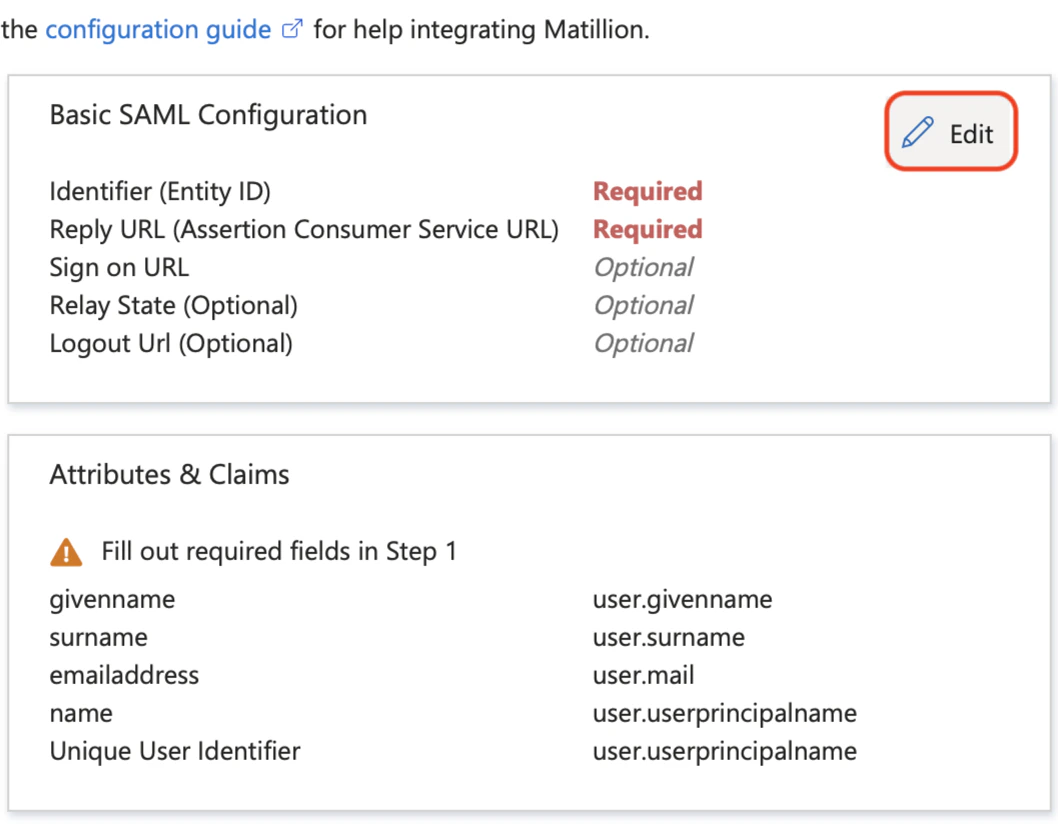
Click the Edit button on the Basic SAML Configuration card.
-
Enter the following, and click Save:
- Identifier:
urn:auth0:matillion:[domain]-samlreplacing[domain]with your primary email domain, and converting any special characters to dashes. For instanceexample.comwould becomeurn:auth0:matillion:example-com-saml. - Reply URL:
https://id.matillion.com/login/callback. - Sign on URL:
https://app.matillion.com.
 The Relay State will be provided by later, and will be added here before testing. No other configuration should be changed at that stage.
 - Identifier:
-
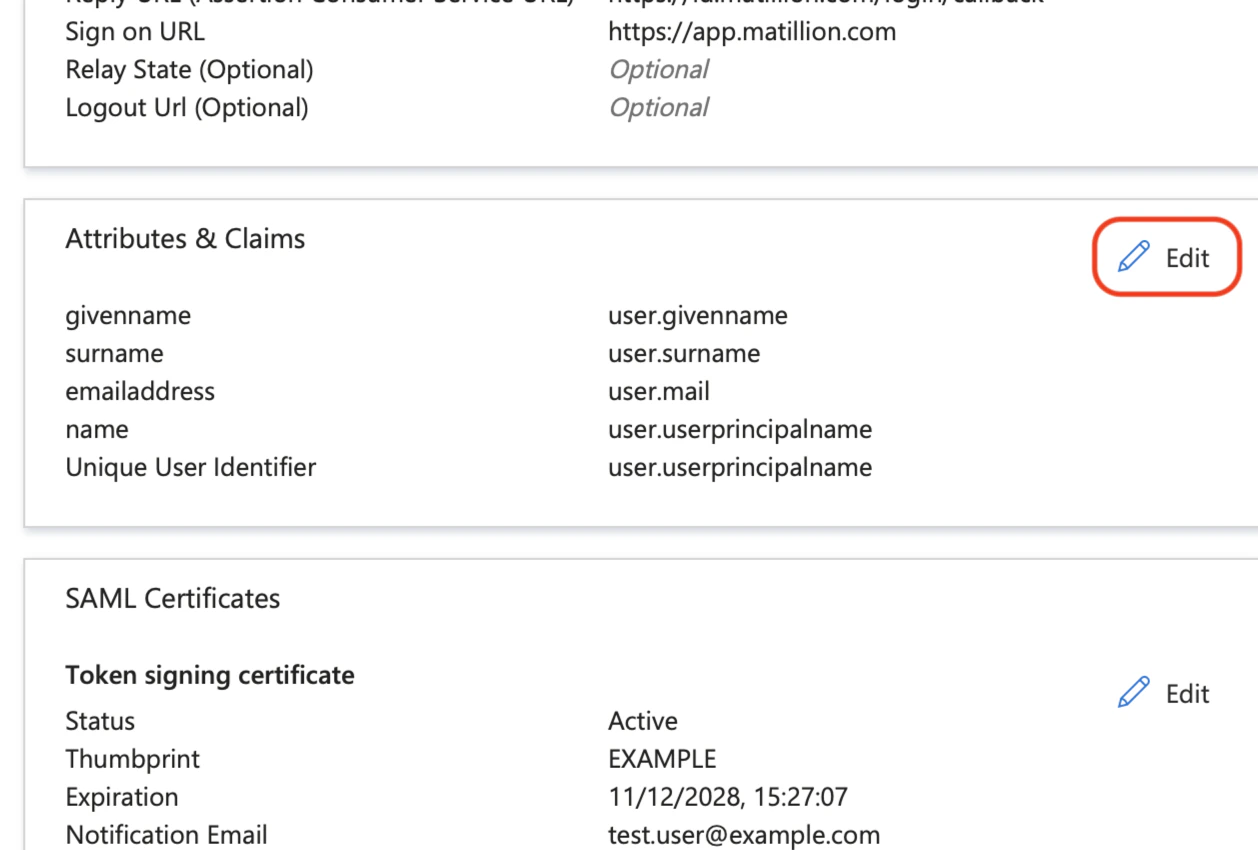
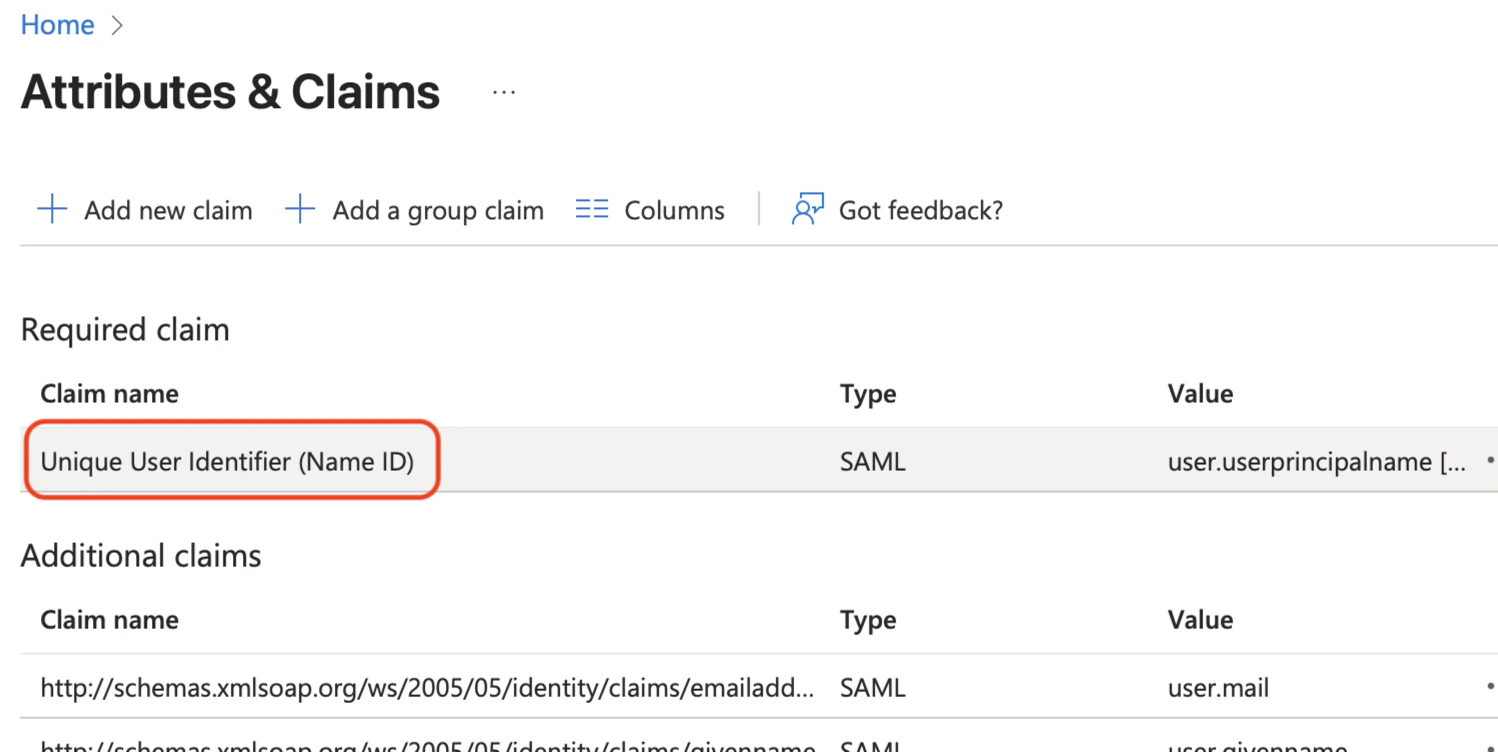
Click the Edit button on the User Attributes & Claims card.
-
Under Claim name, click anywhere in the Unique User Identifier (Name ID) row, except the … menu, to edit it.
-
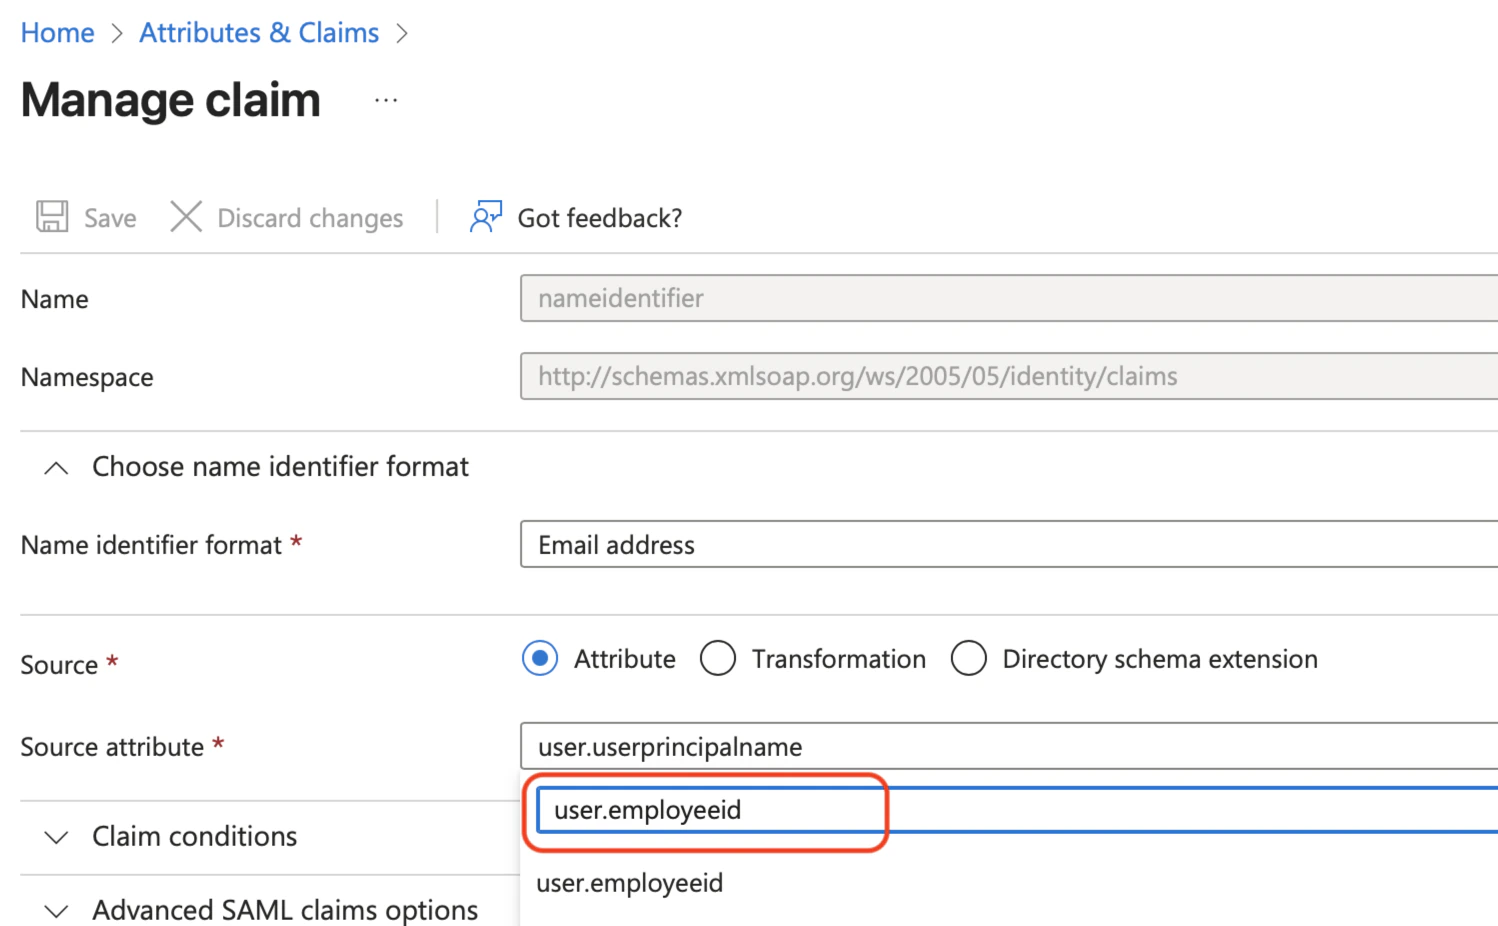
Change the claim to something unique and immutable for each user, such as user.employeeid, and click Save.
-
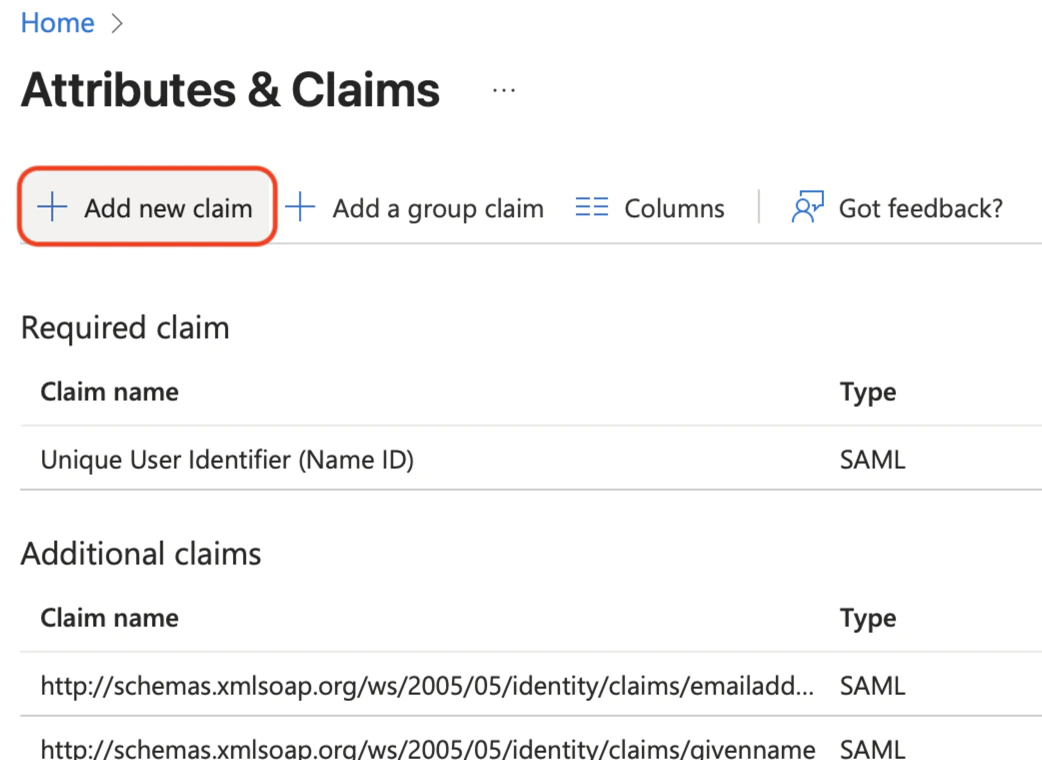
At the top of Attributes & Claims, click Add new claim.
-
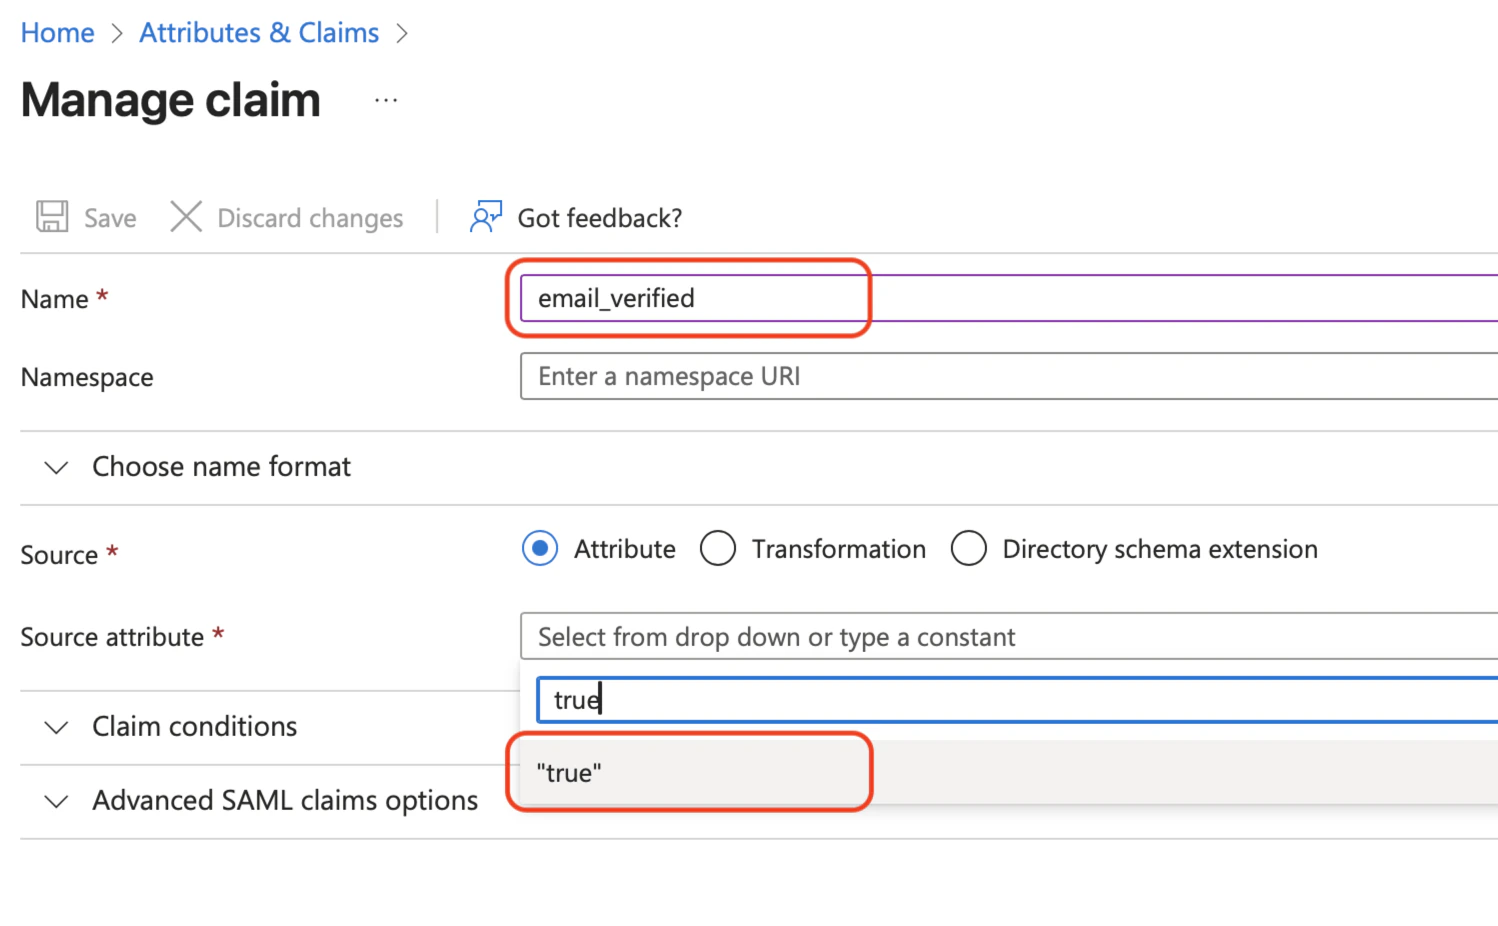
Set the Name of the claim to email_verified, type the word “true” in the Source attribute box, then select true from the drop-down, and click Save. This ensures that users aren’t prompted to verify their email address with .
- Click the browser back button twice to return to the Single sign-on page.
-
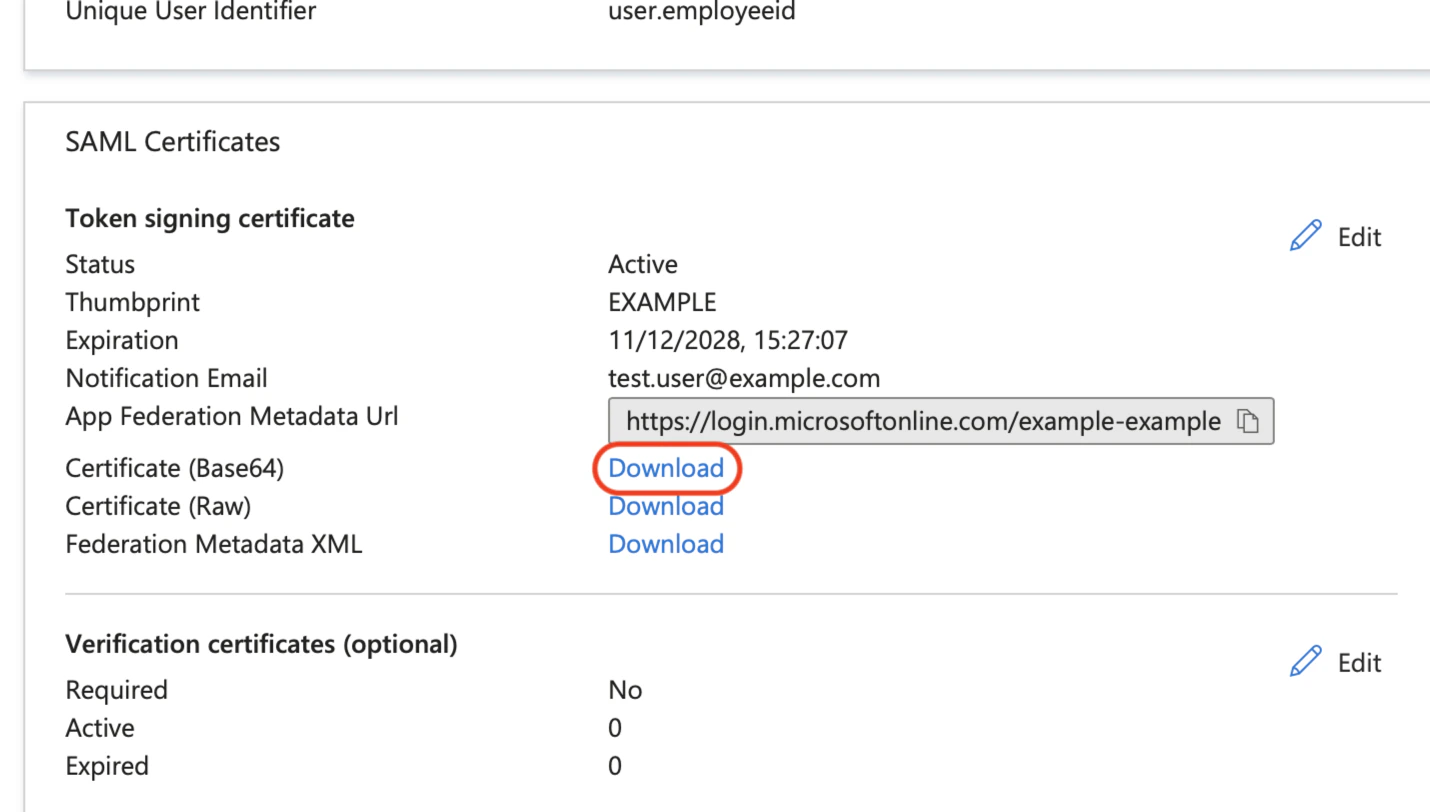
Click Download on the Certificate (Base64) row of the SAML Certificates card, and save it somewhere you can refer to later.
-
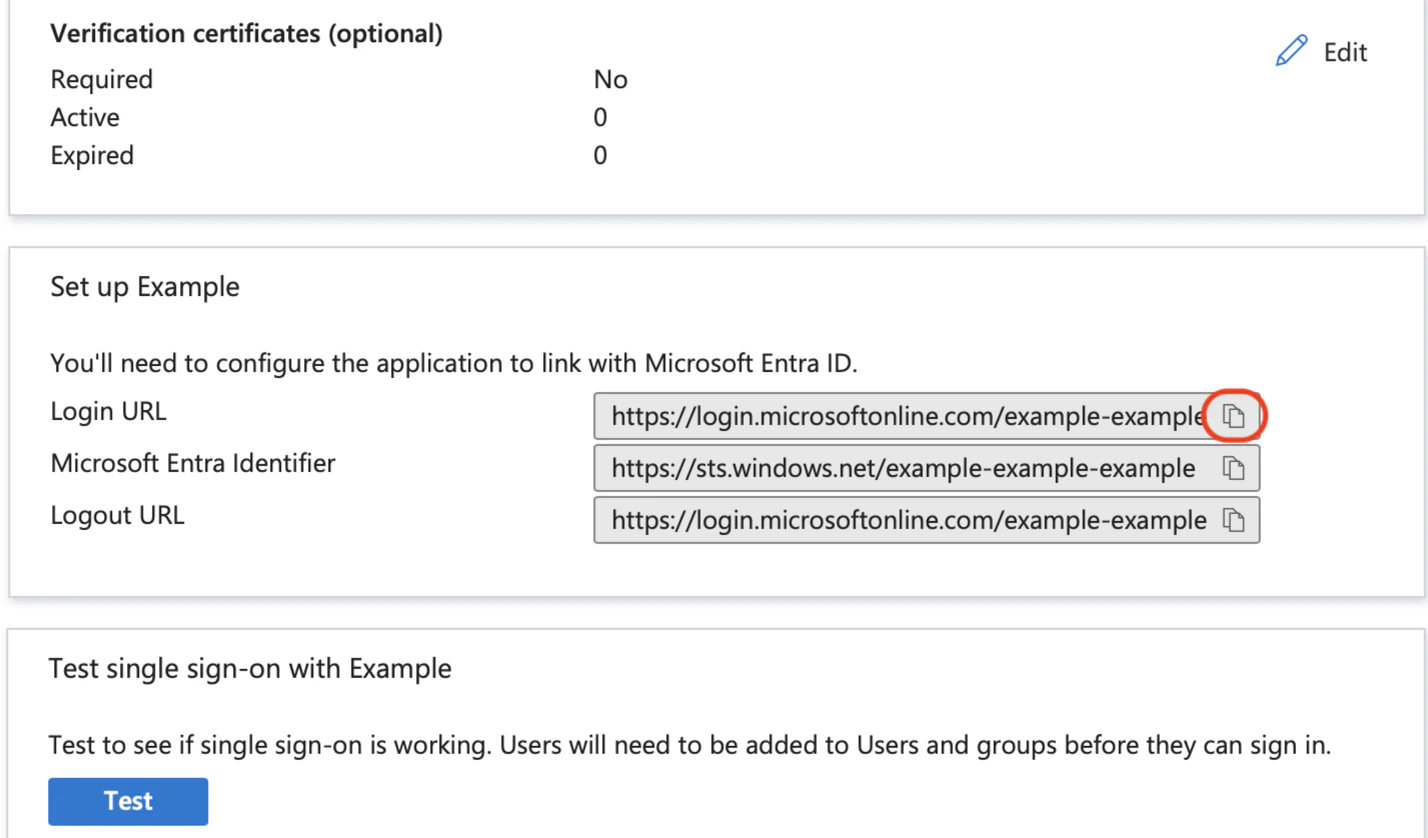
Copy and make a note of the Login URL from the Set up [Application name] card.
-
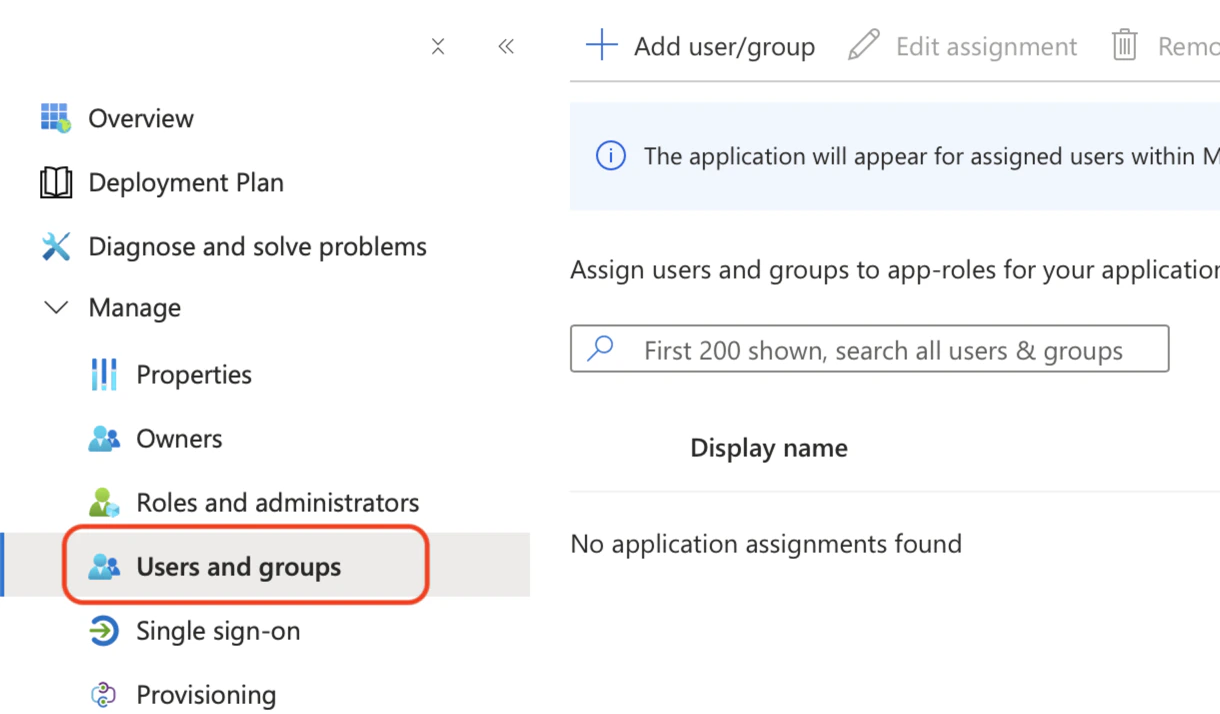
Select User and groups from the menu on the left, and at the top, click Add user/group.
-
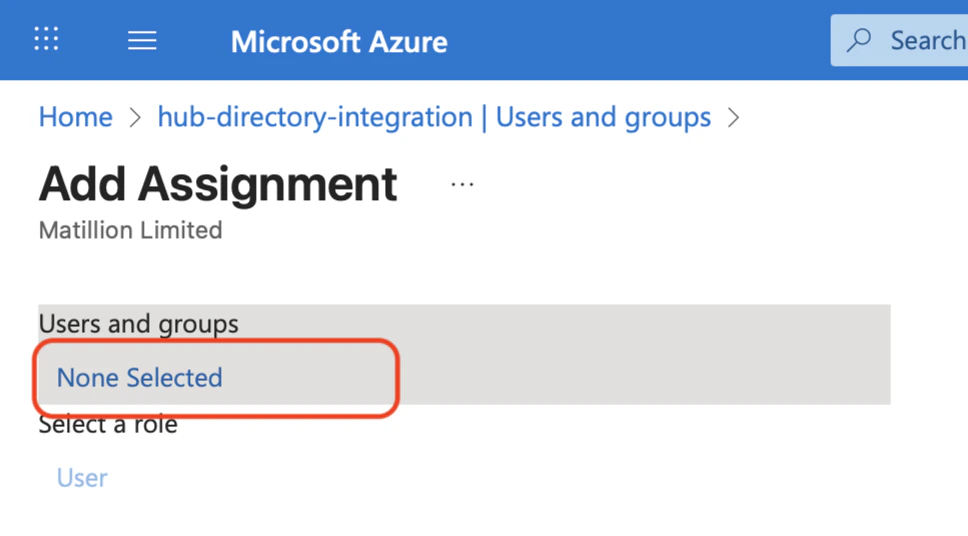
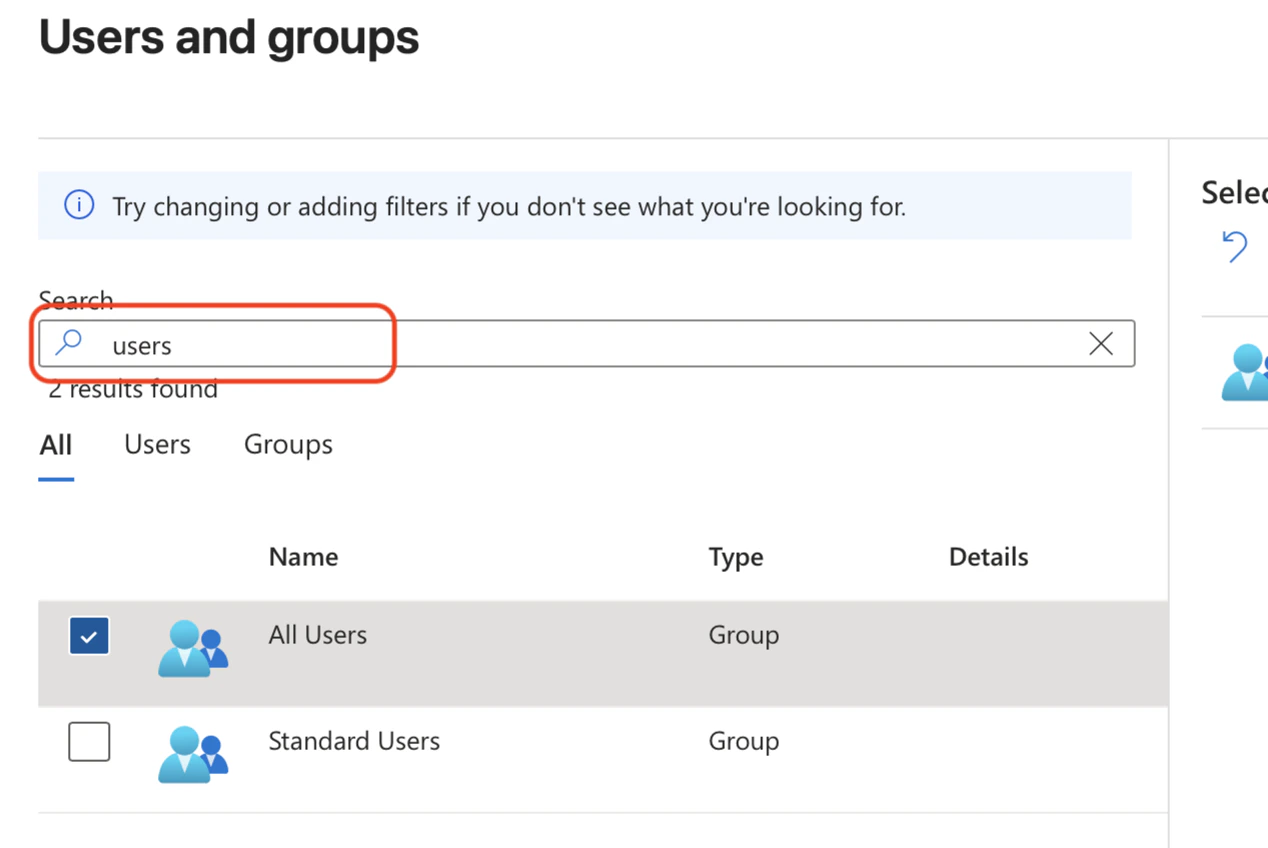
Click None selected in the Users and groups section.
-
Search for and add the users and groups that you want to allow to sign in to .
- Continue the steps in Single sign-on (SSO) setup.